

Starting out with a baby carrier can feel daunting — but it doesn’t need to. With a few simple steps, you’ll be carrying your baby safely and comfortably in no time. This guide walks you through everything, from your first carry to getting the fit just right.
Before You Begin: Understanding Your Carrier
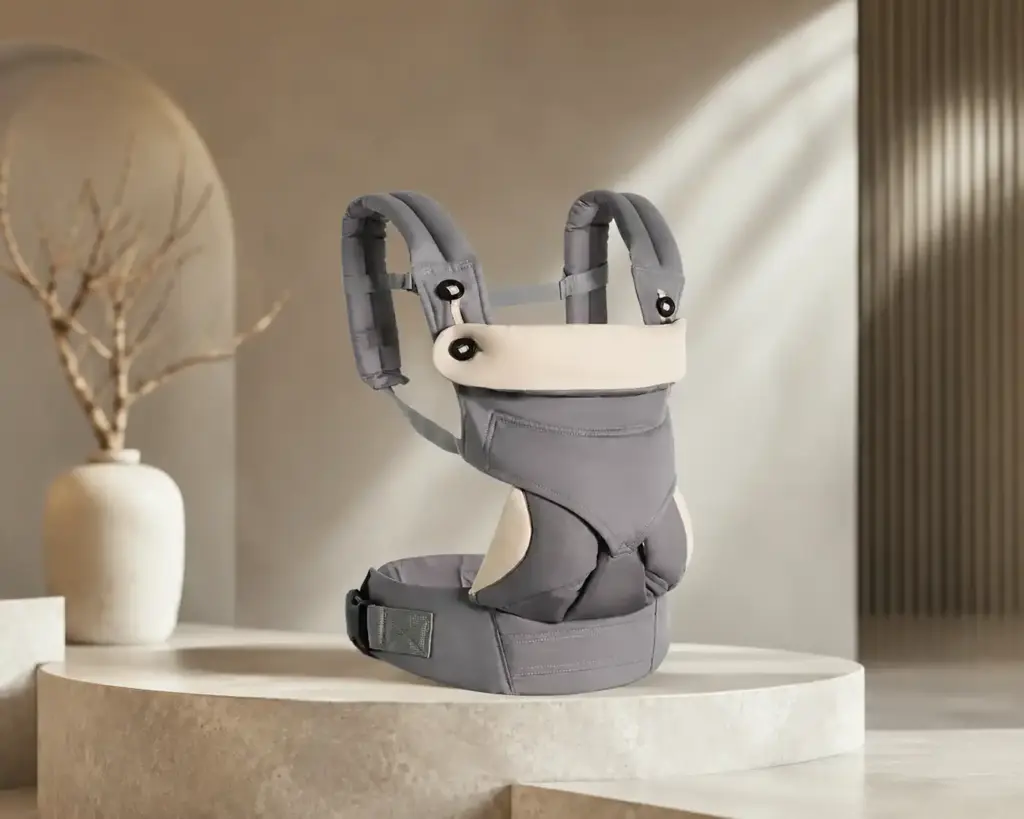
Every carrier is slightly different, but most structured carriers share the same core components:
- Waistband: Sits on your hip bones, not your lower back. This is where most of the weight is transferred.
- Body panel: The main section that holds your baby. Should reach from your baby’s knees to just below the nape of their neck.
- Shoulder straps: Distribute weight across your shoulders and upper back. Should feel snug, not tight.
- Buckles: Fasten and adjust the carrier. Always double-check these are fully clicked before lifting your baby.
- Head support: The fold-down or built-in panel at the top. Use it whenever your baby cannot hold their head independently.
If your carrier has a hip seat, this is the firm shelf at the waistband level. Your baby sits on this seat — it takes weight off your back and makes short carries much easier.
Read the full instructions for your specific carrier before your first use, even if you’ve used a different carrier before.
How to Use a Structured Carrier: Step by Step
Step 1 — Put on the Waistband
Put the waistband around your waist and fasten the buckle at the front. The waistband should sit on your hip bones — the bony points on either side of your pelvis. Pull the strap until it feels snug and supportive but not uncomfortable.
Step 2 — Put On the Shoulder Straps
Slip your arms through the shoulder straps as you would a rucksack. Clip the chest strap (if your carrier has one) across your chest at about armpit height. This stops the shoulder straps from slipping off your shoulders.
Step 3 — Check the Fit (Without Baby)
Before you add your baby, take a moment to check:
- The waistband is level and sitting on your hips
- The shoulder straps are even on both sides
- All buckles are fully clicked and secure
- The body panel is in front of you, ready to receive your baby
Step 4 — Place Your Baby in the Carrier
Pick up your baby and hold them against your chest. Slide their bottom into the body panel so their legs straddle the fabric. The body panel should support their thighs from knee to knee — not just the bottom.
Check that your baby is in the M-position: knees are at or above the level of their bottom, thighs are fully supported, and their spine is in a gentle C-curve.
Step 5 — Tighten the Shoulder Straps
While supporting your baby with one hand, use your other hand to pull the shoulder strap adjustment tabs (usually at the front, near the buckle). Pull until the carrier feels firm and your baby is snug against your chest — they should be high enough that you can kiss the top of their head.
Step 6 — Check Baby’s Position (TICKS)
Run through the TICKS checklist before you start moving:
- Tight: No loose fabric, baby cannot slump
- In view: You can see your baby’s face by glancing down
- Close enough to kiss: Baby’s head is at kissable height
- Keep chin off chest: A finger’s width of space under the chin
- Supported back: Back in a natural position, belly against yours
How to Use a Hip Seat Carrier
A hip seat carrier works slightly differently to a standard structured carrier. Here’s how to use it:
Step 1 — Fasten the Hip Seat
Wrap the hip seat belt around your waist and fasten at the front. The flat seat platform should be at the front, level with your waist. Pull the belt until it sits firmly — you want it to feel stable, as your baby’s weight will rest on the seat.
Step 2 — Seat Your Baby
Pick up your baby and sit them on the platform, facing you. Hold them in place with one hand while you connect the upper carrier section with the other.
Step 3 — Secure the Upper Carrier
Clip the shoulder straps and adjust until your baby is held securely against you. The carrier body should support their back and keep them in the correct ergonomic position.
Step 4 — Adjust for the Right Height
Your baby should sit high enough that you can comfortably see their face. If they feel low or are slumping, tighten the shoulder straps further.
Using the Hip Seat Alone
Many hip seat carriers allow you to use the seat platform on its own — without the upper carrier — for quick carries when your toddler wants to be up briefly. Simply fasten the belt and seat your child on the platform, supporting them with your arm. This is particularly useful for older babies and toddlers who can hold themselves upright.
Common Fit Problems and How to Fix Them
Baby is too low: Tighten the shoulder straps and/or adjust the body panel to bring baby higher. They should be at kissable height.
Shoulder straps dig in: The waistband may be too loose and not bearing enough weight. Try tightening the waistband first before adjusting the shoulder straps.
Baby’s knees are lower than their bottom: Tighten the body panel or adjust the carrier’s seat width if available. This is important — the M-position must be achieved for safe hip support.
The carrier feels uncomfortable after 20 minutes: Check that the waistband is positioned on your hips, not your lower back. Also check that the shoulder straps are not twisted.
Tips for Your First Few Carries
- Start with short carries — 15 to 20 minutes — while you and your baby both get used to the carrier.
- Carry your baby in front of a mirror for your first attempt so you can check their position.
- Try at home first, before you need the carrier out and about. A calm environment makes learning easier.
- If your baby cries or seems uncomfortable at first, stop and check their position. Sometimes a small adjustment makes all the difference.
Get the Right Carrier for You
Getting the technique right starts with having the right carrier. Weanjay carriers are designed for straightforward use — with clear buckles, intuitive adjustments, and step-by-step guides included with every product.
Written by the Weanjay Team | Last updated: 2026